Home Studio Setup Essentials Under Five Hundred Dollars
Build a complete home recording studio for under $500 with this guide covering audio interfaces, microphones, headphones, and acoustic treatment.
Anúncios
Professional-sounding recordings no longer require professional budgets. With careful gear selection, you can build a complete home studio for under $500 that handles everything from vocal recording to full music production.
What Do You Actually Need to Start Recording?
Anúncios
The essential chain is simple: a microphone captures sound, an audio interface converts it to digital, headphones let you monitor, and a computer with free DAW software records and edits. Everything beyond this improves quality incrementally.
Prioritize the audio interface and microphone because they define your recording quality ceiling. No amount of software processing fixes a bad recording from a cheap microphone through a noisy interface.
Best Audio Interfaces Under $150
Anúncios
The Focusrite Scarlett Solo is the industry standard budget interface. Its clean preamps, low latency, and reliable drivers have made it the default recommendation for bedroom producers and podcasters worldwide.
The PreSonus AudioBox USB 96 offers an alternative with two inputs for stereo recording. Both interfaces include free software bundles with stripped-down DAWs, plugins, and virtual instruments worth hundreds of dollars.
Which Microphone Should Beginners Buy First?
The Audio-Technica AT2020 condenser microphone captures vocals and acoustic instruments with professional clarity at a budget price. Its cardioid pattern rejects room noise while capturing detailed, natural sound.
For versatility, the Shure SM58 dynamic microphone handles vocals, guitar amps, drums, and podcasting. It is nearly indestructible and sounds good on everything, which is why it has been the live music standard for decades.
Do You Need Studio Monitors or Just Headphones?
Start with headphones if your budget is tight. The Audio-Technica ATH-M50x provides accurate monitoring for mixing and recording at around $150. Studio monitors require treated room acoustics to perform correctly.
If neighbors and housemates tolerate speaker output, the PreSonus Eris E3.5 monitors offer honest sound at a budget price. Use both headphones and monitors when possible since each reveals different mix characteristics.
How Important Is Acoustic Treatment?
Room acoustics affect recording quality more than most beginners expect. Untreated rooms add reflections, flutter echo, and frequency buildup that make recordings sound amateur regardless of microphone quality.
DIY acoustic panels using rigid fiberglass wrapped in fabric cost under $50 to build and dramatically improve recording clarity. Placing them at first reflection points and behind your monitoring position creates immediate improvement.
Budget Studio Gear List Under Five Hundred Dollars
- Audio interface — Focusrite Scarlett Solo ($120)
- Microphone — Audio-Technica AT2020 ($100)
- Headphones — Audio-Technica ATH-M50x ($150)
- Mic stand and cable — Amazon Basics boom stand + XLR cable ($35)
- Pop filter — basic mesh screen to reduce vocal plosives ($10)
- Acoustic treatment — DIY fiberglass panels or moving blankets ($50-80)
What Free Software Completes the Setup?
GarageBand on Mac or Cakewalk on Windows provides a complete DAW at zero cost. Add the Vital synthesizer, TDR Nova EQ, and OTT compressor as free plugins and you have a production toolkit that rivals paid software.
Most audio interfaces include software bundles with lite versions of professional DAWs. Focusrite bundles Ableton Live Lite, while PreSonus includes Studio One Artist — both capable production environments.
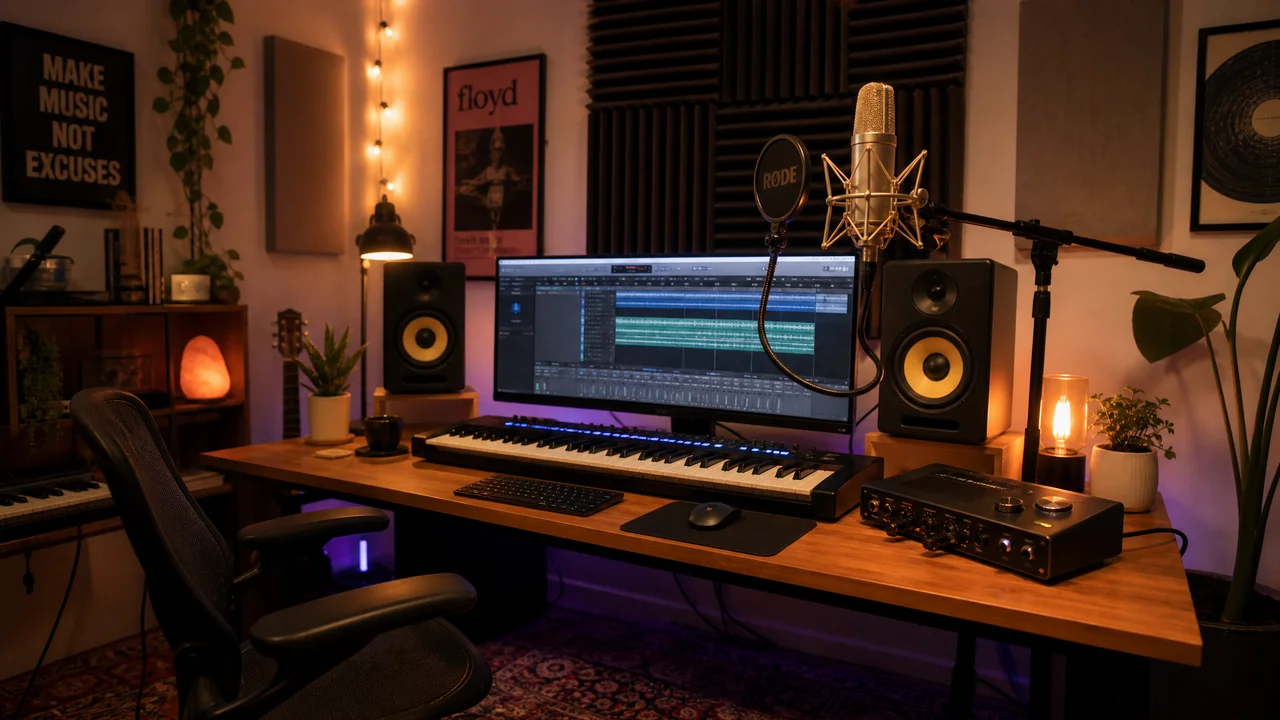
How to Set Up Your Studio Space
Choose the smallest room available because smaller spaces are easier to treat acoustically. Avoid perfectly square rooms that create standing wave problems. Closets and bedroom corners work surprisingly well for vocal recording.
Position your desk away from walls to reduce bass buildup at your monitoring position. Bookshelves, curtains, and soft furnishings all absorb reflections and improve room acoustics for free.
Common Mistakes to Avoid When Building a Home Studio
Spending your entire budget on one expensive microphone while neglecting the interface and acoustics guarantees disappointment. Balance your investment across the entire signal chain for the best overall recording quality.
Buying gear you do not need yet wastes money that could improve essentials. A MIDI keyboard, external preamp, or second microphone can wait until your skills demand what your current setup cannot deliver.
When Should You Upgrade Your Home Studio?
Upgrade when you can identify what specifically limits your recordings. If vocals sound thin, invest in a better microphone. If mixes translate poorly to other speakers, invest in room treatment or better monitors.
Resist the temptation to upgrade everything simultaneously. Methodical, need-based upgrades let you hear exactly what each improvement contributes and make informed decisions about where your next dollar delivers maximum impact.